For Makenzies 2nd Birthday, Heather asked if it was possible to make a “Happy Birthday!” banner for under $30. UMMM YES!!! Everyone’s first instinct is to go buy stuff like this off Etsy or similar online stores but I was able to make a banner for Heather for a whopping $4.00 and I’m not kidding. The banners were going on the cake table and presents table! Check out my blog post on the Barbie Cake I made for Makenzies Second Birthday! Pictures of the cake are also at the bottom of this post 🙂
The cardstock paper was on sale at Michael’s… 6 sheets for $1.00, so I got as much as I could. I had ribbon, some pink paper on hand, and of course my trusty eCraft!
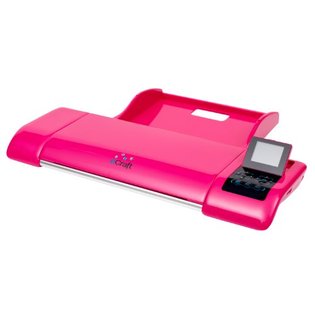
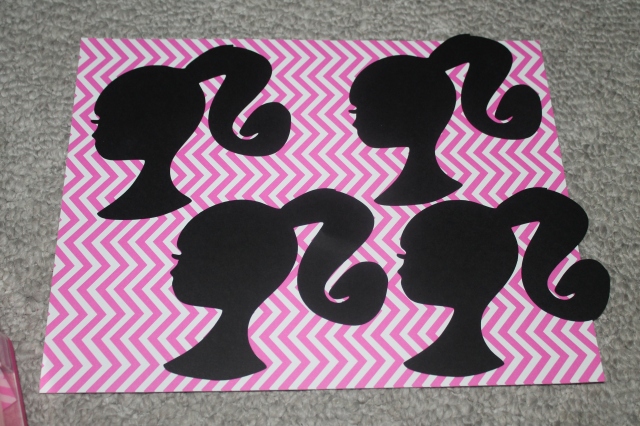
This machine is amazing. It’s like a cricut but its mat less. I was able to hook it up to my computer (with the downloaded eCraft software), I found some SVG files of Barbie heads and got to work!
These were free images and so so so cute! I cut out 4 large Barbie heads
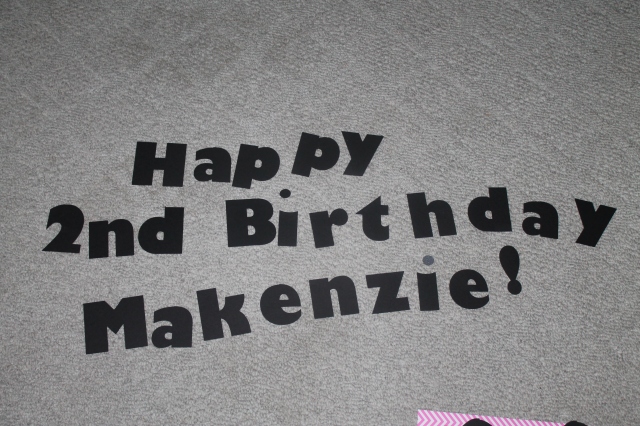
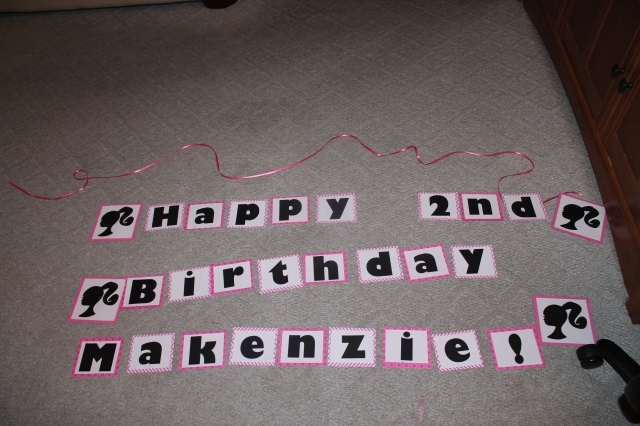
Then I cut out the letters I needed. ANY font on Microsoft Word can be used on the eCraft as well. I like to use the fonts that are boxy and thick, since its easier to cut out on the machine.
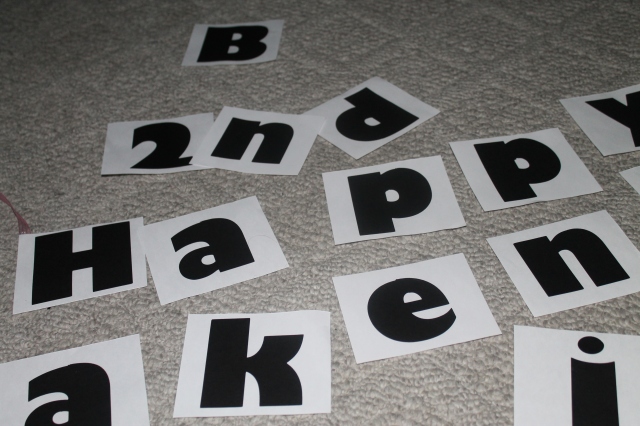
Then I put all the letters on a white background.
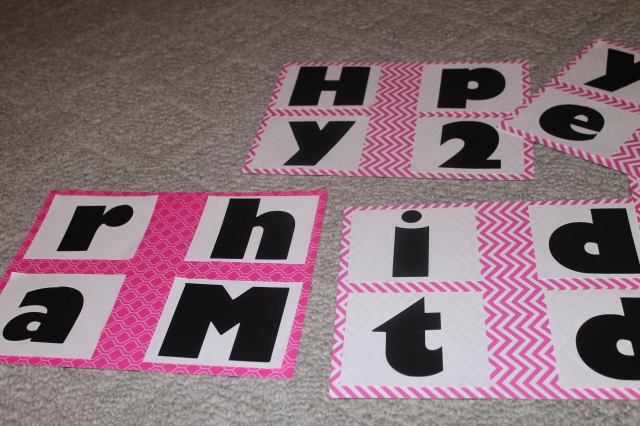
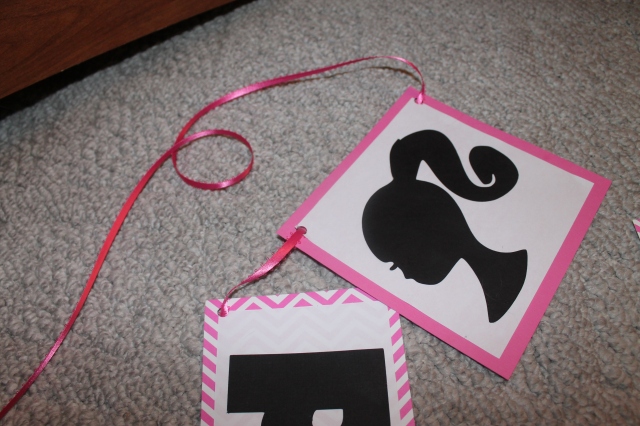
Then put them all on a sheet of colored pink paper. I alternated it so it went chevron print, then the other print etc. I don’t know why but I always have to double everything on paper. I feel like everything looks cuter with a border! It makes it look more professional!
Also, doing square instead of round helps to save paper.
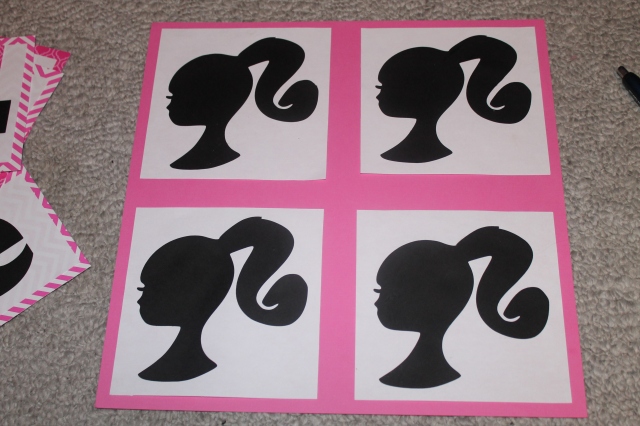
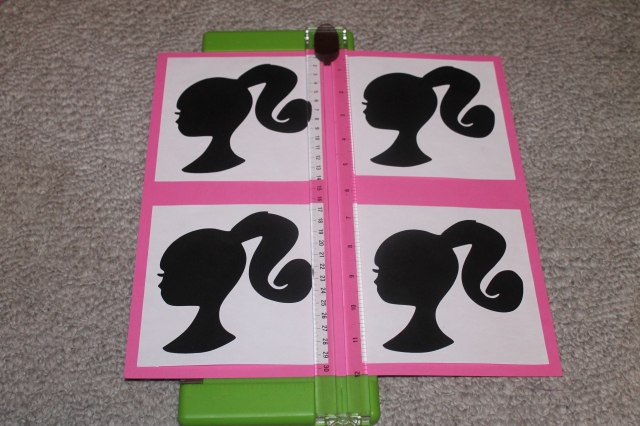
That’s my trusty paper-cutter! It measures out paper perfectly and makes straight nice lines!
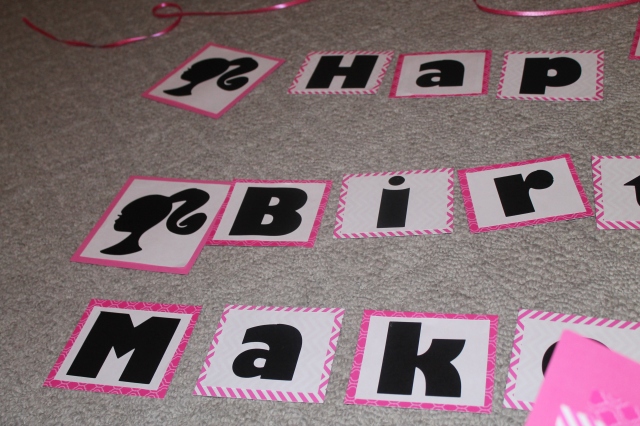
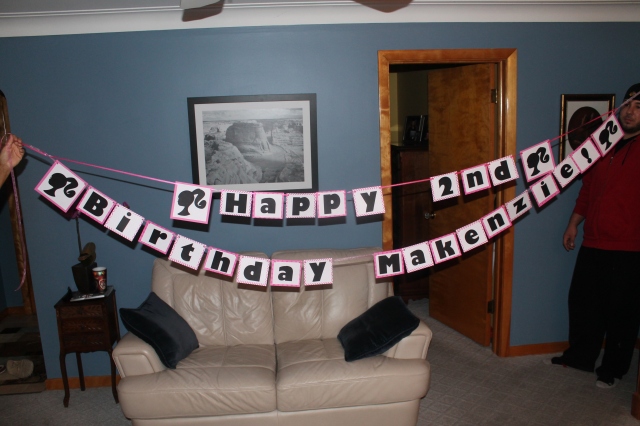
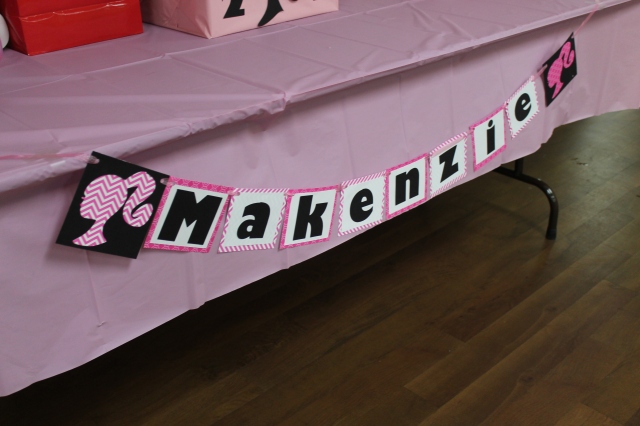
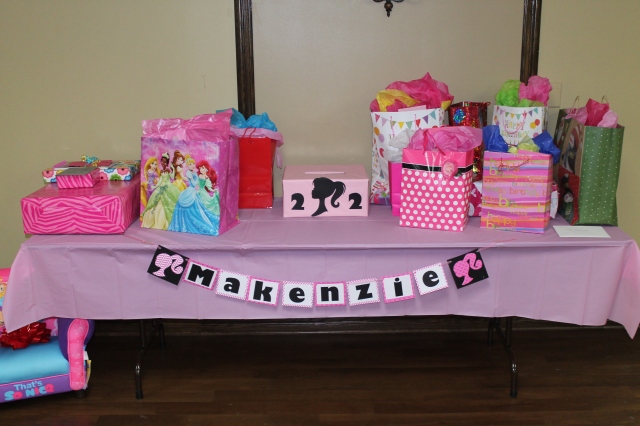
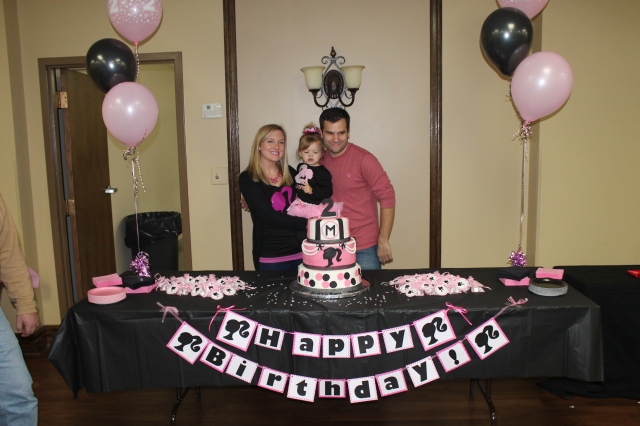
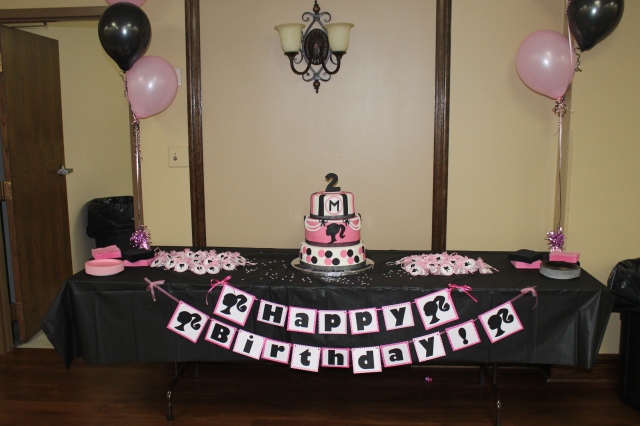
I recruited my mom and Mike for banner holding duty -lol- I made the banner then realized adding the “2nd” made it too long! So the end result doesn’t have the “2nd” and we separated “Happy Birthday!” for the cake table, and “Makenzie” for the present table!
I tape the back of each sheet to the ribbon to hold them all in place.

And here’s the final result!
So girly!
The banner just brings it all together! And dresses up the tables nicely!
the banners worked out perfectly for both tables!
Everything else came out so amazing for Makenzies Birthday party too! Heather spent a lot of time planning and making all of the little details!
These are all cute little Hershey kiss party favors!
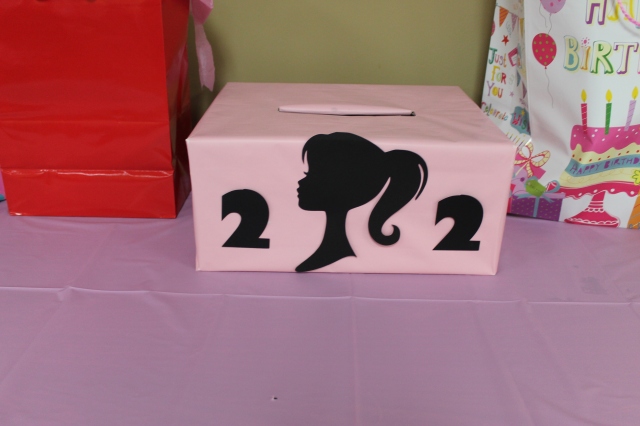
Heather made the card box! she simply wrapped a box in pink paper, added a Barbie head, and some number 2’s that I cut out on my eCraft machine for her!
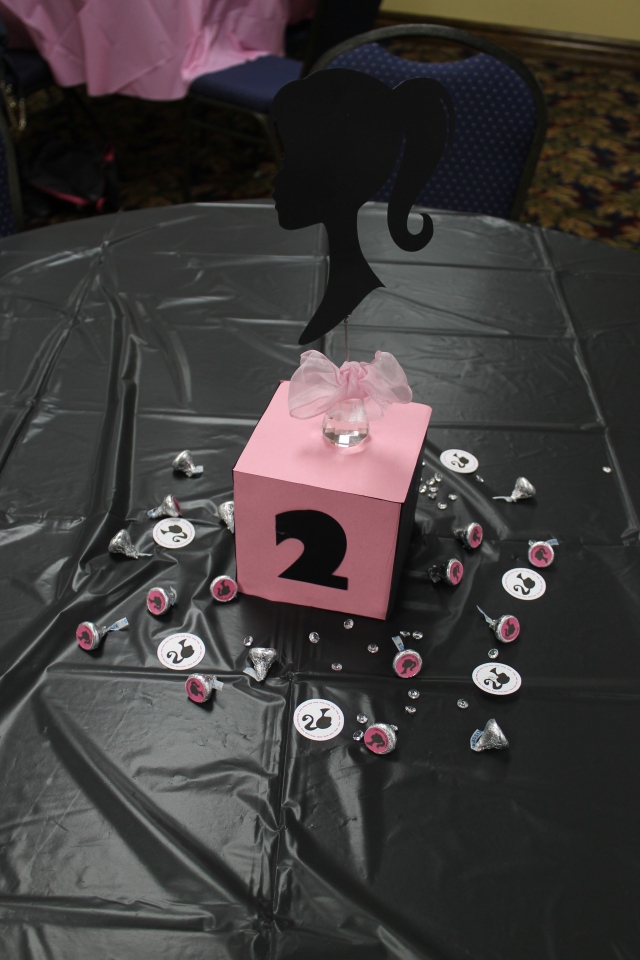
Half of the tables got these center pieces. These are foam boxes covered in pink and black paper.
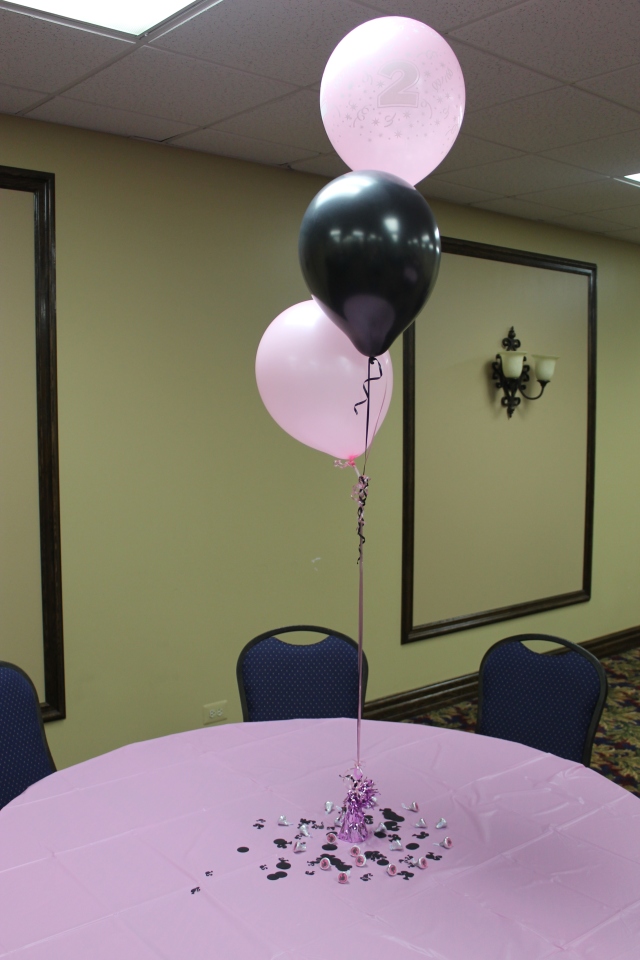
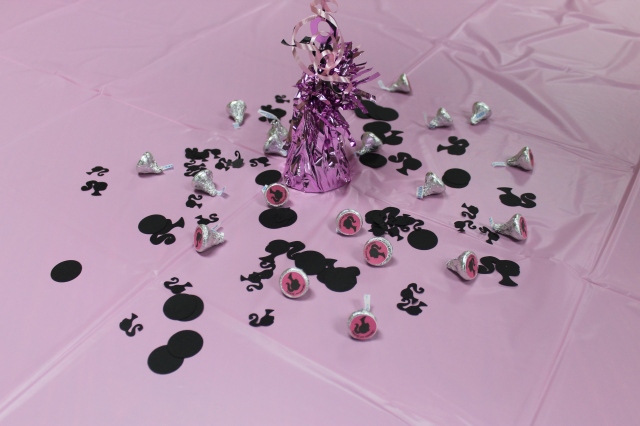
And the other half of the tables had ballons with the same Barbie confetti and Hershey kisses scattered!
The friend table!
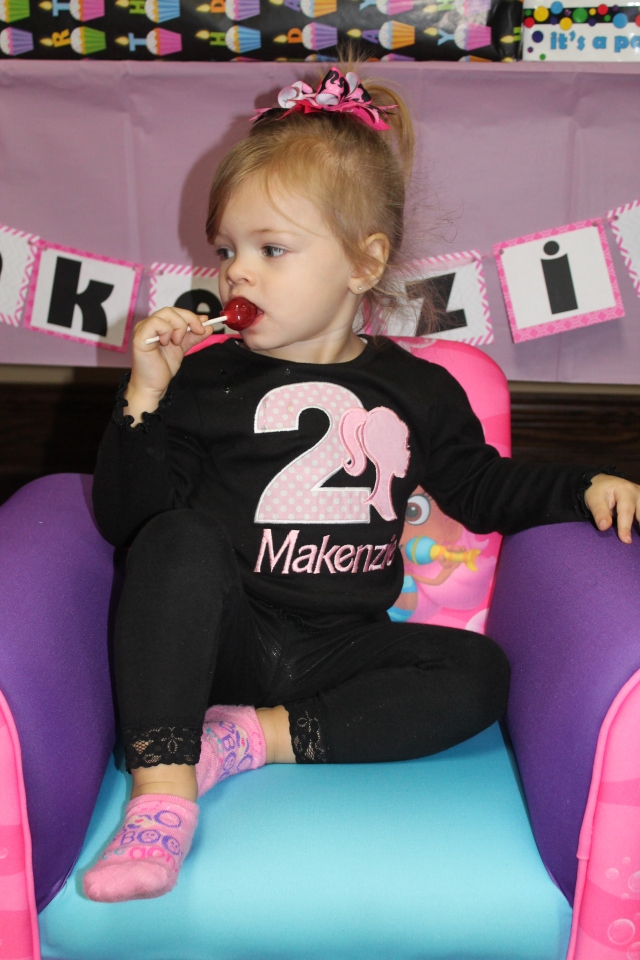
the princess girl eating a lollipop!
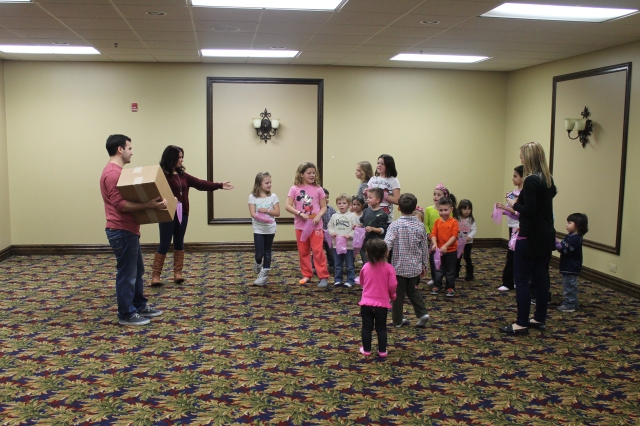
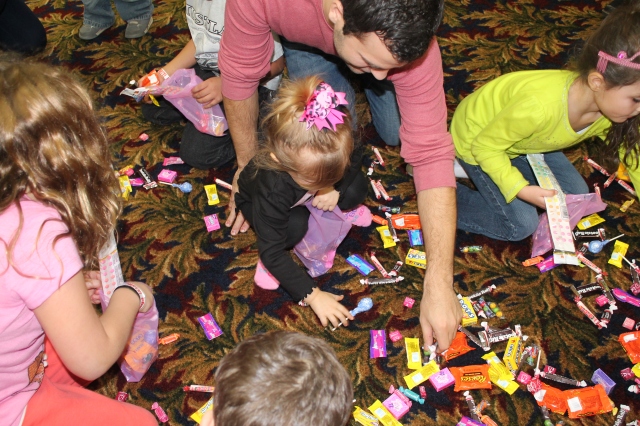
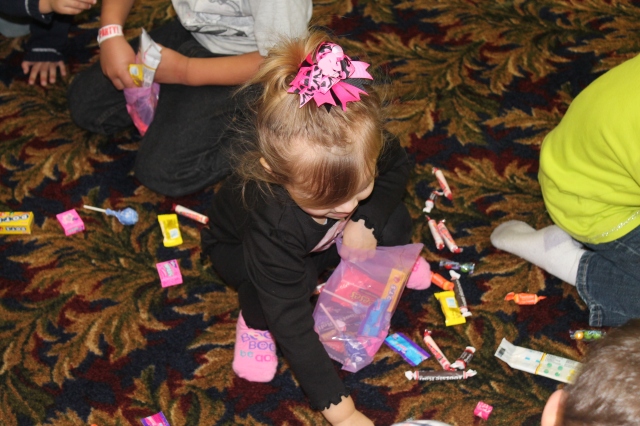
Anthony does this thing at every party where he fills up a box with candy and when I say fill… I mean it. This box was up to the very top with all kinds of candy! And then he just launches it in the air and the kids go CRAZY!
Daddy helping the birthday girl!
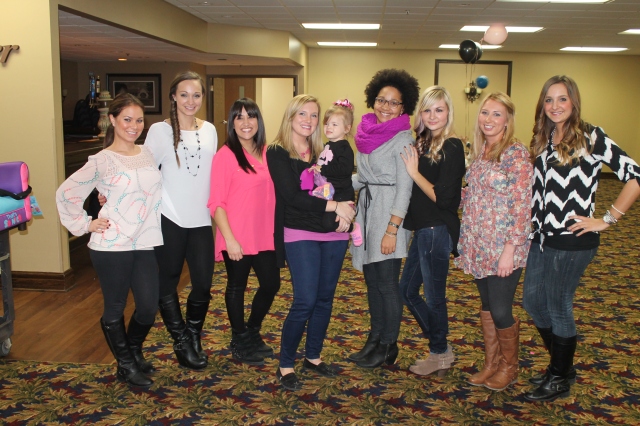
All of my girlfriends and I 🙂 I love us! We are the Elite 8 -lol-
xoxox- Dani
