It’s a FIESTA!!! Part 1: CAKE POPS!

Over the weekend I had a request to make a Fiesta themed cake and cakepops for my friend Katie’s daughter Olivia who turned 2! Olivia is the cutest little girl who’s first birthday party I did the Minnie mouse cake, smash cake, and cake pops for! Check that blog post out here! And please check Katie out over at http://ohheybabyblog.com/

Katie wanted a cake shaped into the number 2 and decorated like a piñata! You know, like that piñata fringe! She also wanted 40 cake pops… 20 drizzled and sprinkled and 20 with piñata fringe as well! This post is going to be dedicated to the cake pops! I went picture crazy for this and there’s too many for one post.

First we shall begin with the pops!

IMG_4151

IMG_4158

IMG_4156

IMG_4154

IMG_4153

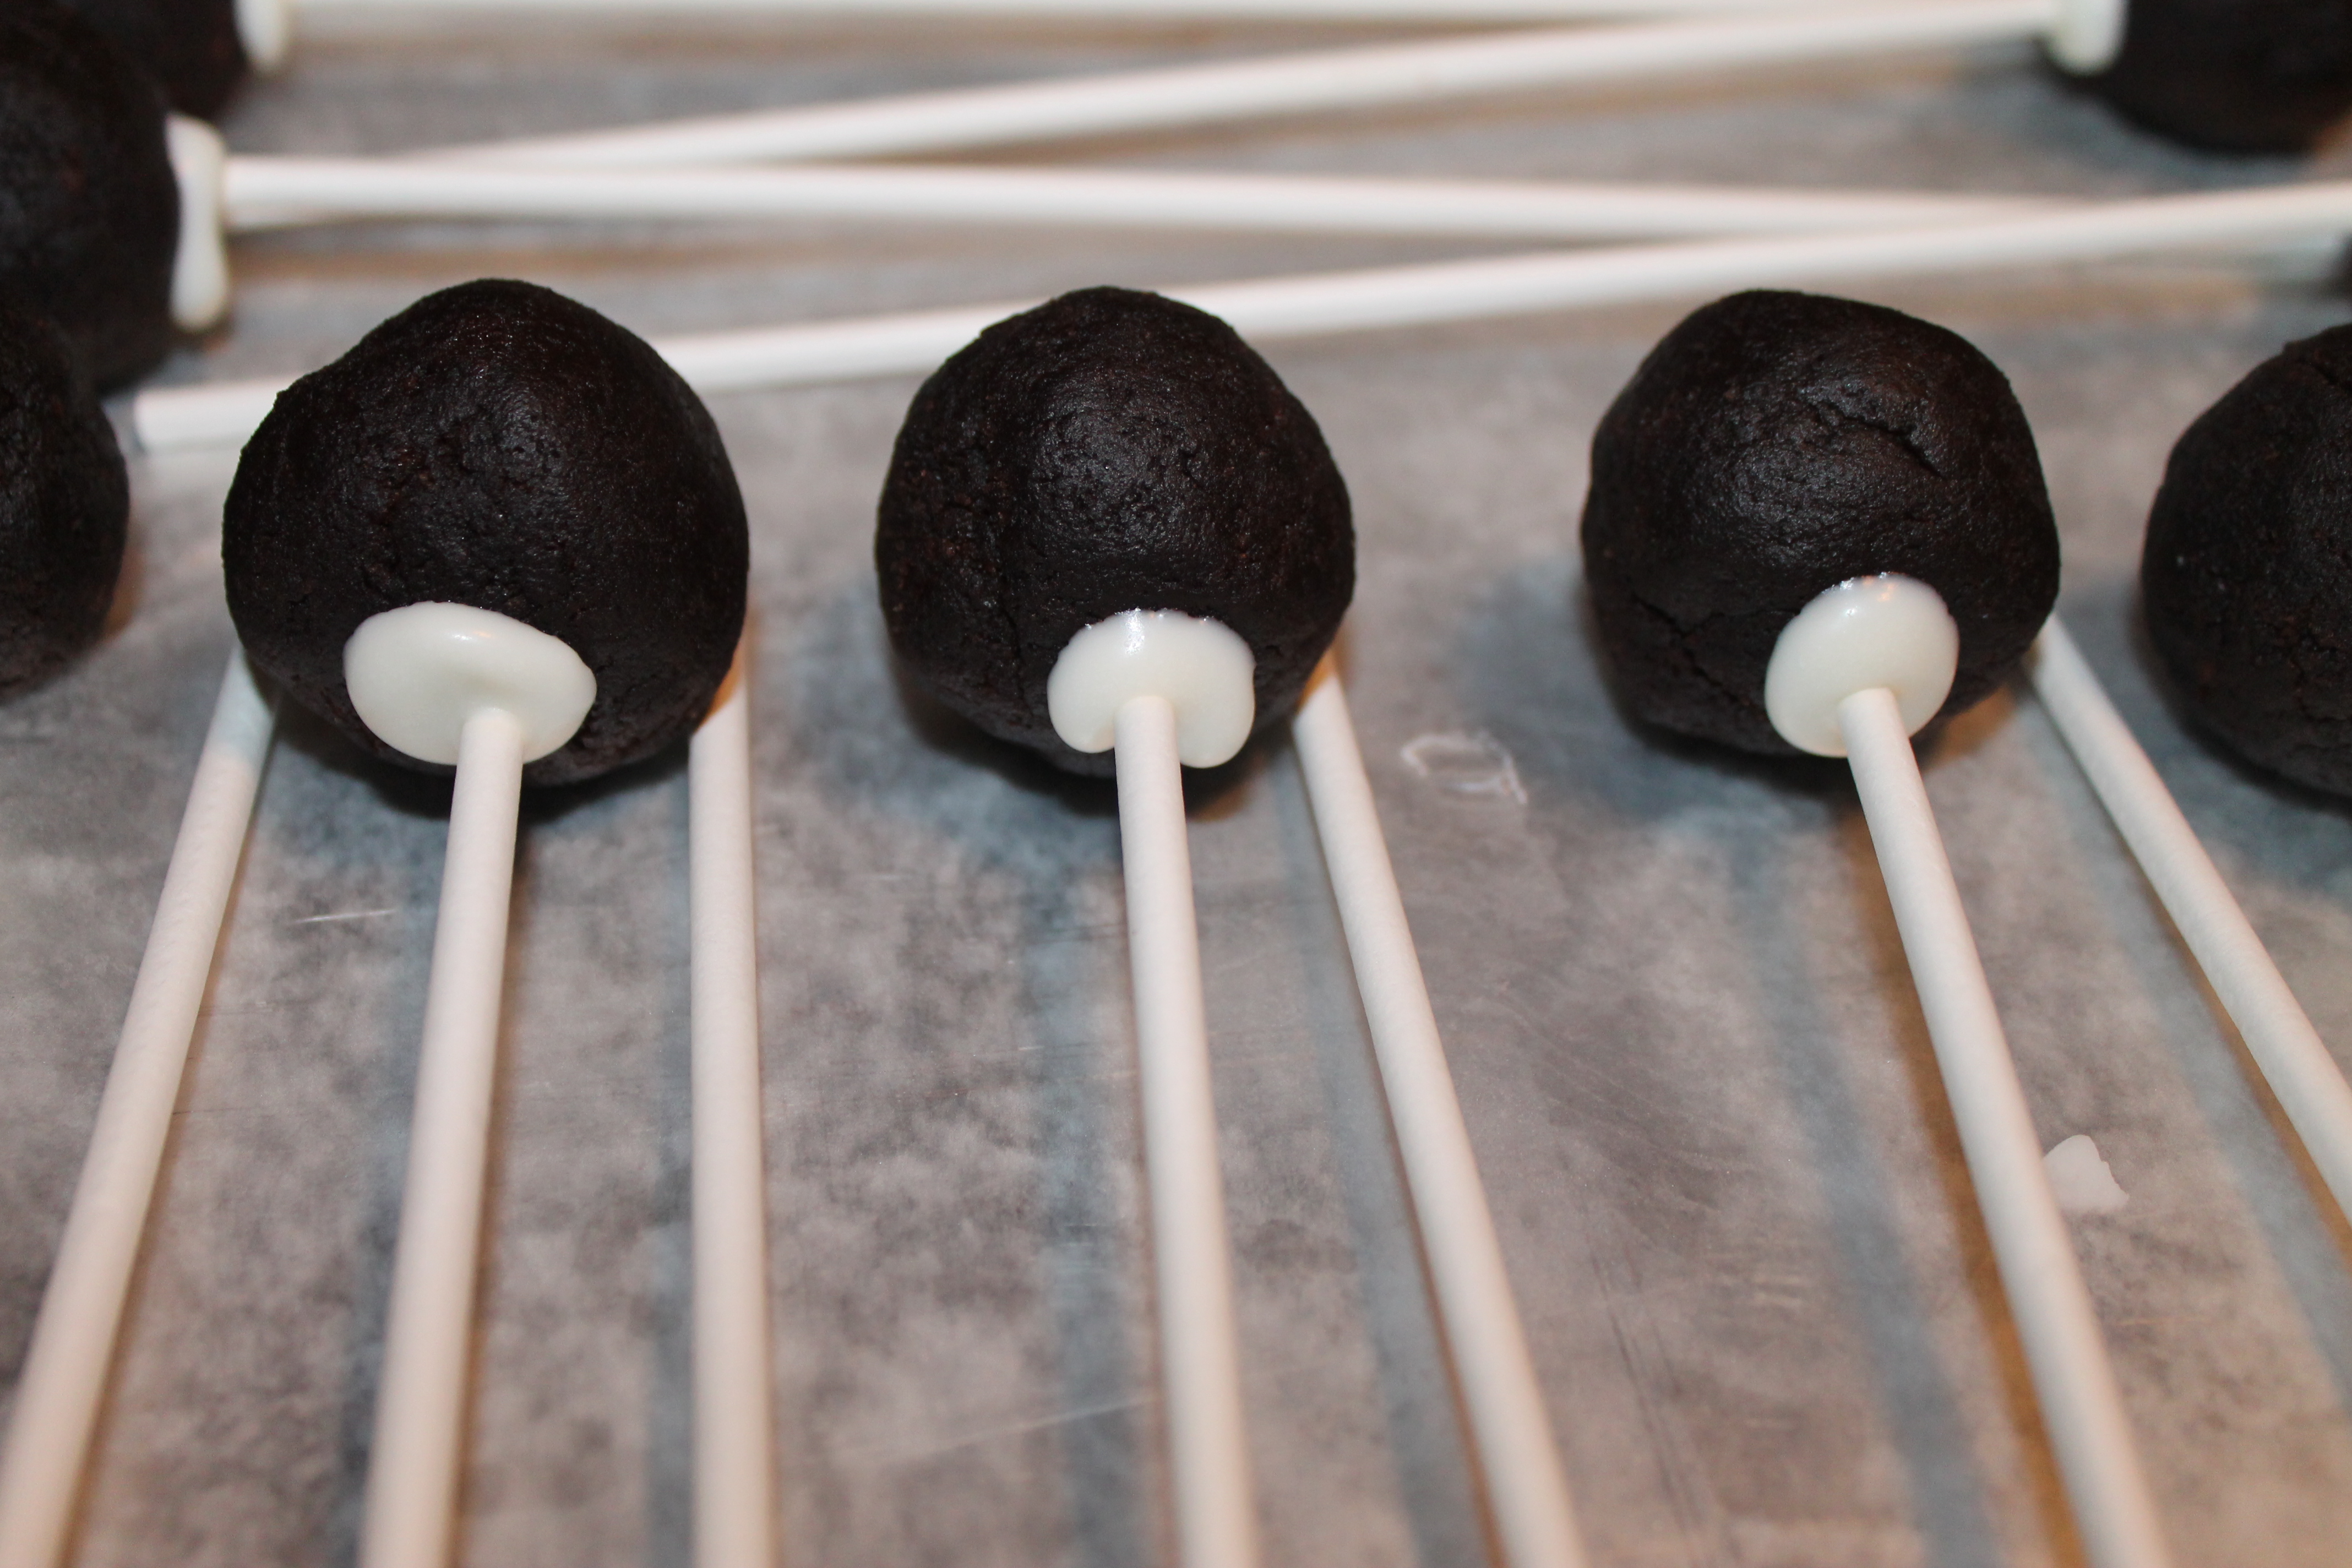
All of the cake pops were rolled, sticked, and dunked in white candy melts!

This process takes the longest, after they’re all dunked its just a matter of decorating!

dreaded cake pop

AND THIS RIGHT HERE is the reason I ALWAYS roll out at least 10 extra balls!

THE DREADED CAKE POP CRACK! I swear if I make 50 cake pops at least 8 crack, it is just so annoying. Luckily, if I am making drizzled cake pops, the drizzle usually covers the crack very well! But that doesn’t make me hate the cracking any less

IMG_4166

IMG_4169

I individually wrap every cake pop so I always need cutsey ribbon to tie them with! The dollar store by my work sells ribbon for $1 a roll! Each roll has 6 yards of ribbon which is amazing! That is SO SO SO cheap! Ribbon from Michaels starts at $1.99 a roll! I got all 6 of these for like $6.50! So amazing, and I knew I would have ribbon left over so I had no problem buying this since I always need ribbon.

IMG_4170

I tied them with any color ribbon other the one that was used on the cake pop.

IMG_4174

For the cake pops with fringe, fondant had to be used. I colored fondant in all of the colors Katie said were in the Fiesta Banner she got: Red, yellow, pink, light green, light blue, and dark blue!

IMG_4176

Then I rolled out all of the fondant colors, cut them into strips, and use my tiny scissors to cut the fringe into them. This was tedious!

IMG_4178

 IMG_4179

IMG_4180

IMG_4186

IMG_4213

IMG_4184

IMG_4212

Fiesta Cake pops! So fun and such a cute birthday theme!

Check back in tomorrow for the FIESTA PART TWO! Which will be the cake!

xoxoxo -Dani

Upgrading Cheap Dollar Store Bins

I love these dollar store bins for organizing anything. They come in all different colors and sizes. I picked up some red ones and decided to spice them up a little.

I got a total of 10 bins for $3.00 at the dollar store. Then I went to Michaels and originially wanted hemp string, but it was so much thinner then I expected so I went with Jute String instead (pictured below) it was $12.99 for the bigger roll but I had a 40% off coupon so I got it for around $7.00 only. Not bad.

Here are the supplies you need:

20130915-212435.jpg

Bins

Scissors

Jute String

Hot Glue Gun and Glue

20130915-212449.jpg

Get your hot glue gun fired up.

Make a thin line of glue around the top edge of the basket. Hot glue sticks to plastic really well, and this Jute String sticks even better!

Once the top edge is glued all the way around, do one more all the way around with hot glue.

(you can do two rounds of Jute around the top until you hit the part where the bin has open holes)

20130915-212459.jpg

Now, once you have glued down Jute two times around the top of the bin, ONLY apply hot glue to these thick outer edges (pictured above), so you are not applying hot glue to any of the sides where the bin has holes.

Applying hot glue only on the outer edges is more then enough to make it hold.

20130915-212528.jpg

And here is your final product!

20130915-212519.jpg

Plain “BLAH” bins are tranformed into cute jute wrapped bins in less then 10 minutes!

STAY TUNED FOR THE BLOG POST ON WHAT THESE BINS ARE BEING USED FOR! 🙂

This Little Piggy Went to a Party!

Good morning everyone! Today is Saturday and unfortunately its raining and really gross outside 😦 perfect day to write a blog post! This weekend I only had one cake order, from a friend named Val, who I have done at least 8 cakes for now! She is one loyal customer! 🙂

She requested a Pig Cake, just like one I have made in the past for someone! She said her boyfriends daughter Ariana saw the Pig Cake and loved it… so the Pig Cake it is!

Here are the ones I made in the past for Jamie for her son Dom’s 3rd birthday around April or May of this year. It was farm themed! How cute is that? I love cool themes for children’s birthdays! She wanted a pig cake (6″), and a cow cake (10″) and 24 green frosted cupcakes! Here’s how it turned out:

20130831-103223.jpg

I LOVED the cow bell! Its sprayed with the Wilton Color Mist in Silver!

20130831-102902.jpg

Here’s how she set it up at the party! She bought cute little farm animal cupcake toppers!

20130831-102851.jpg

All I had to do for the cake this weekend one was make one 10″ pig cake!

Everyone always asks, “How do you make cakes?!” well here is a step by step photo gallery of how I put this cake together!

On Thursday  I made the fondant decorations for the top of the cake:

First I made the snout. I use my Duff Tools to do things like the nose holes!

DSCN2085

DSCN2095

These tools were like $24.99 at Michaels, but I’m pretty sure I got them for around $17.99.  I love them, I use them all the time. If I’m making anything involving fondant, these are on deck.

DSCN2094

Here are all the tools I used for this cake, very simple! I’m afraid this might look SO simple that everyone’s going to start making cakes themselves and putting me to shame.

DSCN2088  DSCN2089

 For the eyes, I decided to reverse the colors from the cake I did before. Instead of white on black I did black on white. I cut out anything that is circular with the ends of pastry bag tips. They do the job perfectly.

DSCN2108 DSCN2111DSCN2112 DSCN2113

Then we start to build the cake! I frosted it, covered it in fondant, and began adding all the details.

Ears

Snout

Eyes

Mouth

And VOILA you have a pig!

20130831-100922.jpg

For the ears, just bend the tips to make them flare up on the sides. Fondant holds pretty well when its rolled out thin and shaped!

20130831-100934.jpg

20130831-100938.jpg

I added “Happy Birthday Ariana!” along the outside of the cake in a hot pink fondant and also used that hot pink fondant for the boarder!

20130831-100943.jpg

And there you have it, a cutesy pig cake!

20130831-100947.jpg

This Little Piggy Went to a Party at 10am this morning!

Happy Birthday to Ariana!

AND

Happy 6th Birthday to my little Benny!

IMG_1690

I can’t believe he’s 6! I remember when we got him and he looked like a little snowball! So small, white, and fluffy!

cooties


The Anti Fondant: Simply Smooth Frosted Cakes

Fondant.. either you like it or you don’t!

Kids on the otherhands ALWAYS like it. They even like to eat the hardened fondant accents to these plain smooth frosted cakes. Last weekend, when I made the fondant covered Marvin the Martian cake, my friend Becca later told me that her sisters husbands nieces ate Marvin entirely. I thought that was hilarious… just picturing little Marvin the Martian being consumed. I always wondered if people ate the fondant decorations and its turns out if theres kids they most likely do.

I tried putting these in order from first cake I’ve made to the most recent. I started doing cakes that were ONLY smooth frosted with some fondant here and there. Working with fondant comes later in your cake decorating skills. I use to despise it. I always hoped no one ever wanted a fondant cake. Now its my bestie and I love working with it.

This Mickey Mouse cake was the first one I ever did for an actual event. For Cameron.. my good friends Sam and Dannys son 🙂 . It was for his 1st birthday party! I was so nervous because it was this cake and like 48 cupcakes.

Mickey was made with a Wilton Cake Pan from Michaels. Its cute because it can easily be made into Minnie too.

mikki2

mikki

mikki3

This was also a cake for Sam. I used my Mom’s heart shaped cake pans for this one.

hello kitty2011

cake8

This was my first cake with a real fondant figure. Snoopy and Woodstock on his belly, with a fondant roof.

snoopy

snoop5

beachballl

I NEVER put cakes in the fridge (unless theres perishables in the center but I don’t really do centers with any… I’m more of a decorator not a gourmet cake baker) but it was so HOT the day I made this cake that it needed to stiffen up just a bit.

graduation1

graduation

044

040

167

This was for my bosses birthday. He LOVES almond Snickers (go try one theyre so so so good!) so thats what is in the center of this cake, as well as chunks of it on top. Um.. YUM!

yummy2

Sliced almonds on the side.

yummy

thomas2

thomas

kl

kkk

cute22

kk

Oh look there I am 🙂

j

cake6

cakey

I LOVE HELLO KITTY!

And I LOVE the person this was for! My friend Beccas beautiful little sister Grace! She is seriously the coolest, funniest, most polite little girl on the entire planet and I’m sure of that. So when Becca requested this I immediately went and bought the Wilton Cake pan for it that I was waiting for a reason to buy! I’d love to make this cake covered in fondant so if anyone ever wants that please ask because I need to make it!

hellokitty

cake2

My girlfriend Dom requested this bunny cake for her cute little Grandpas birthday which was around Easter time. The outside is wrapped in Kit Kats and then the top is filled with Egg M&M’s.

bunny

Oh yea and the center was TIE DIE!!! So fun!

563369_2915044231959_999498154_n

Dom took this awesome picture of it cut!

tiedye

556092_3299379000088_105804019_n

016

012

007

20130818-171837.jpg

And there they are.. my collection of unfondanted (is that a word? I like it!) cakes!

babies

And of course a picture of my babies to leave you guys feeling happy and amazed by their cuteness!

(I mean really, Benny is in a Polo and Tootsie has a bow in her hair! If that doesnt cheer you up just a little then I’m sorry)

🙂